Warning: Undefined array key 0 in /dom983507/wp-content/themes/hayes/inc/empress-functions.php on line 741
Rose Gold Beauty
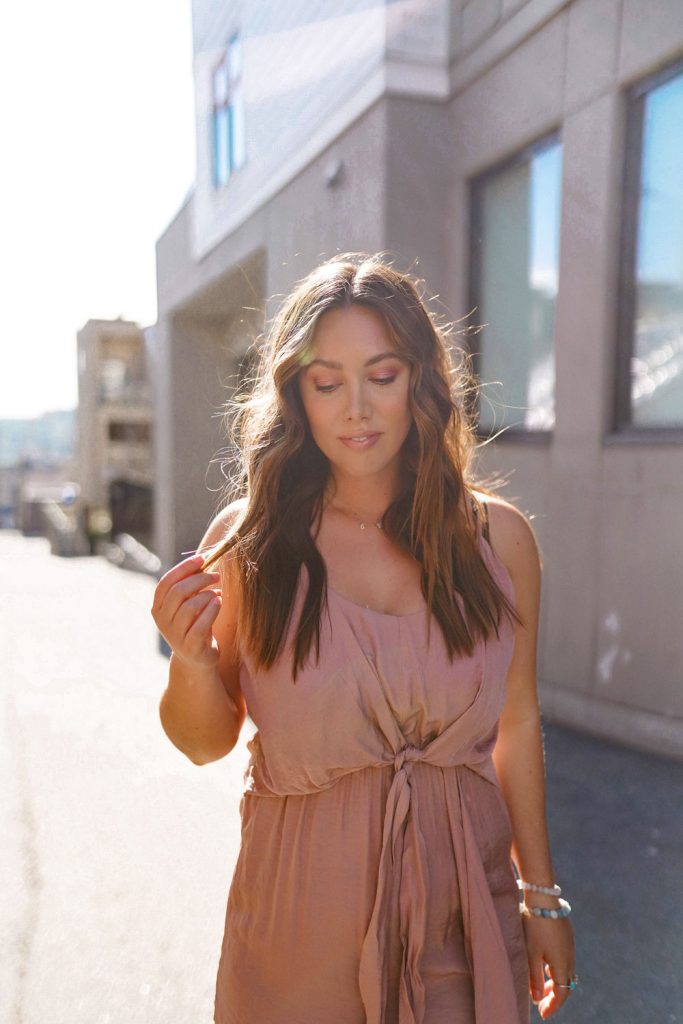
As I mentioned in last week’s retro hair clip tutorial, when it comes to hair & beauty, I’m pretty low-maintenance—I wouldn’t say I’m totally bare bones when it comes to my routines (actually, when it comes to my skincare I’m downright high maintenance!) but I like to keep things pretty simple & fresh for the most part. Evened-out & dewy skin, a bit of a lip & cheek, groomed brows and mascara—that’s my typical go-to, and as far as keeping that as a day-to-day look, I’m really happy to keep things simple. But this spring/summer
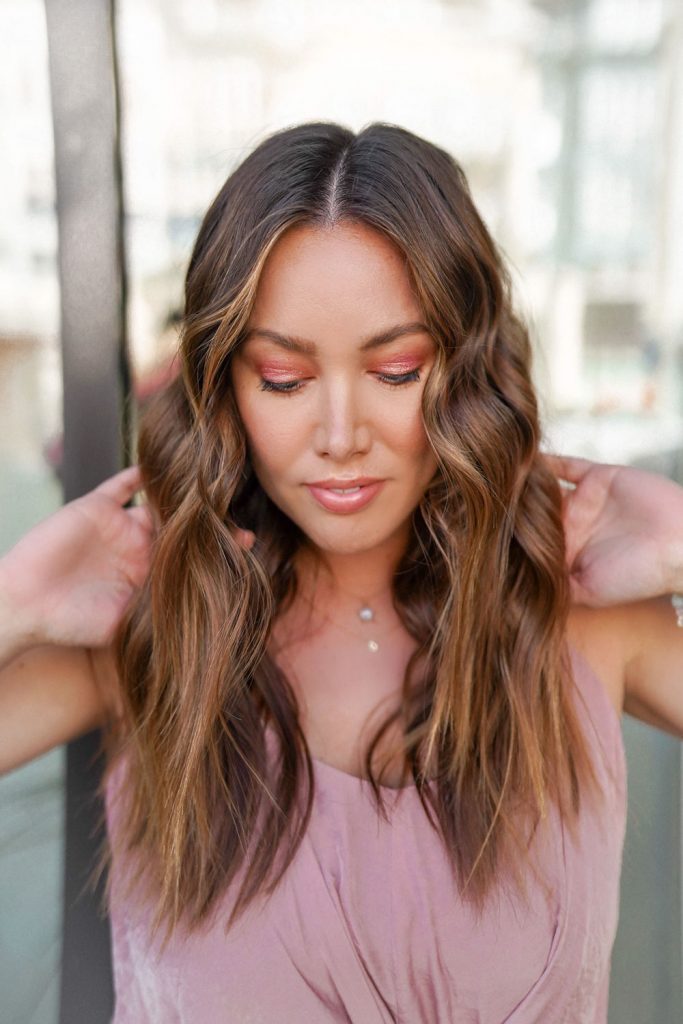
As you guys know, I have fully entrusted my hair with the genius Chris Weber for the last few years, who last year opened up his own salon Vanilla Loft in trendy Lower Lonsdale. The lovely Ana Prieto on staff is not only incredible with hair (check out the waves she gave me here with a Beachwaver!
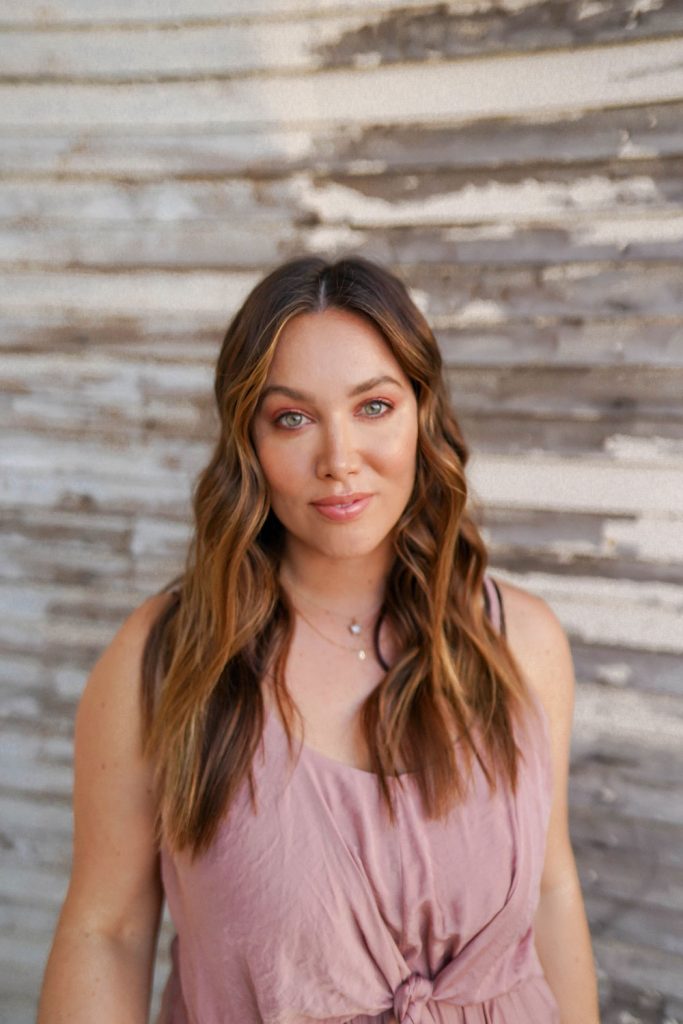
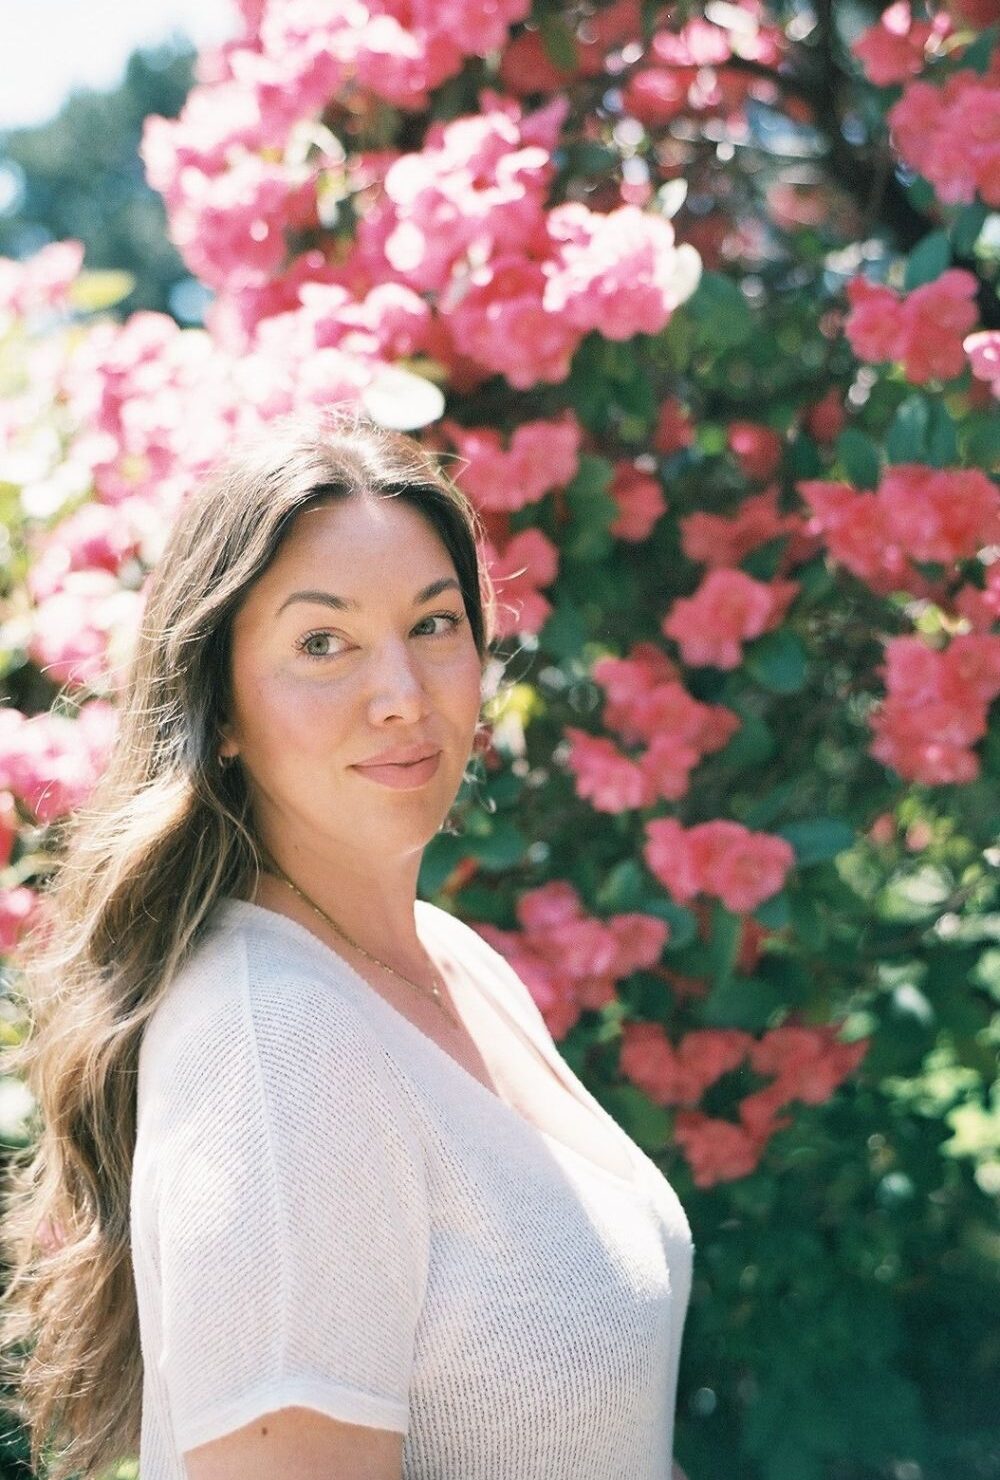
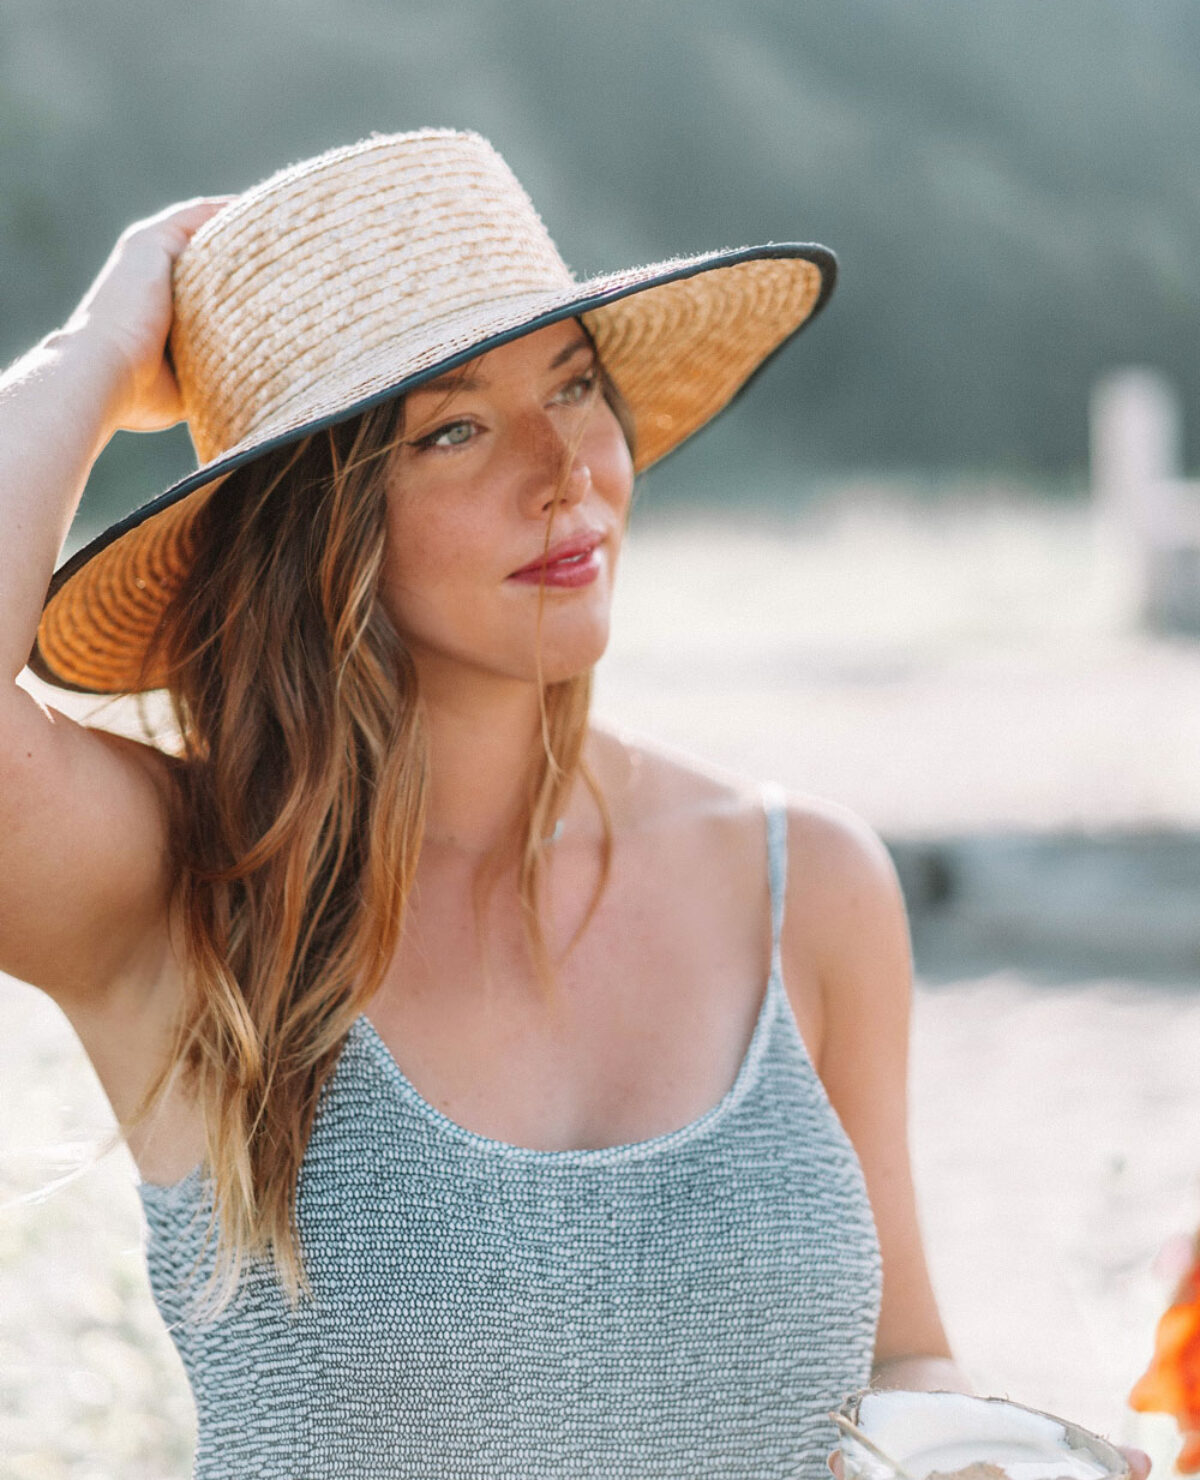
A few things I love about this look—firstly, since I have light green eyes and it’s one part of my face I really like to play up, I love that these really bring them out. Having dark hair but otherwise light features (my brows and lashes are both much lighter than my hair
STEP 1: PREP SKIN
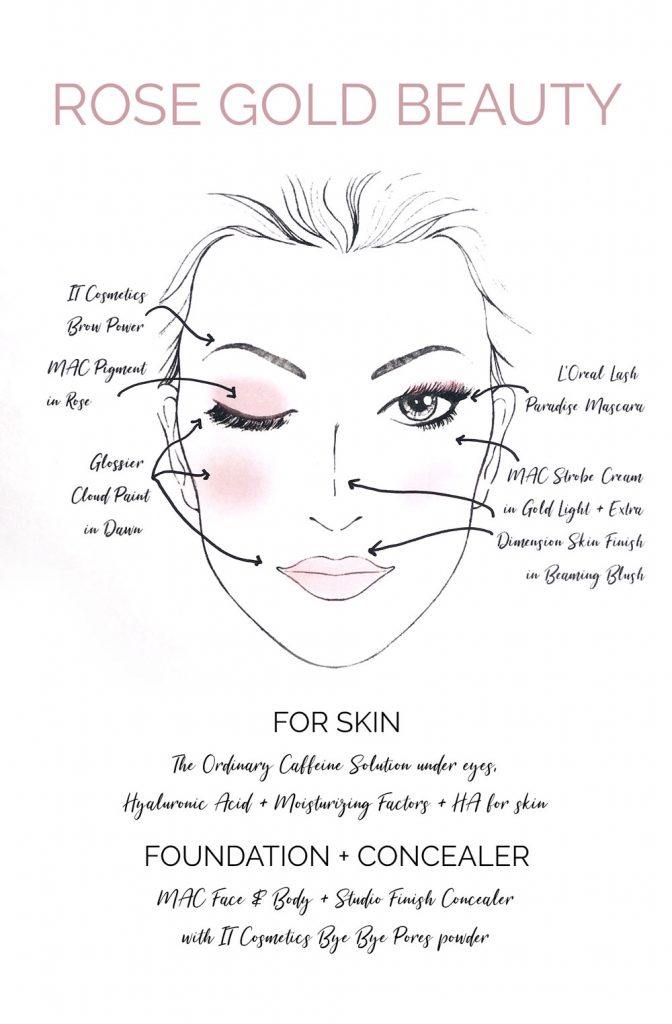
The goal for your skin here is dewy & glowing, so start by prepping your skin and making sure it looks plump and hydrated. Ana used The Ordinary’s Caffeine Solution under my eyes to really perk them up and their Hyaluronic Acid as a serum for the skin finished with the Natural Moisturizing Factors + HA as a moisturizer. PS I’d never used The Ordinary before and was really impressed with their products, plus they’re super affordable which I didn’t know!
STEP 2: EVEN OUT TONE
To even out the skin, she used Fast Response eye cream from MAC under my eyes, Studio Finish Concealer (a bit more full coverage but very creamy so you can really blend it out for a more natural, sheer look) and Strobe Cream in Gold Light for the high points of my face. She then finished off with Face and Body (by MAC again) which is a very sheer foundation—you could even skip this step if you want to do a more toned down daytime look. She dusted just my T-zone and a little under my eyes with IT Cosmetics Bye Bye Pores loose powder—one thing Ana noted is that this doesn’t contain talc or mica so it won’t have that white finish, meaning even deeper complexions won’t look ashy from this!
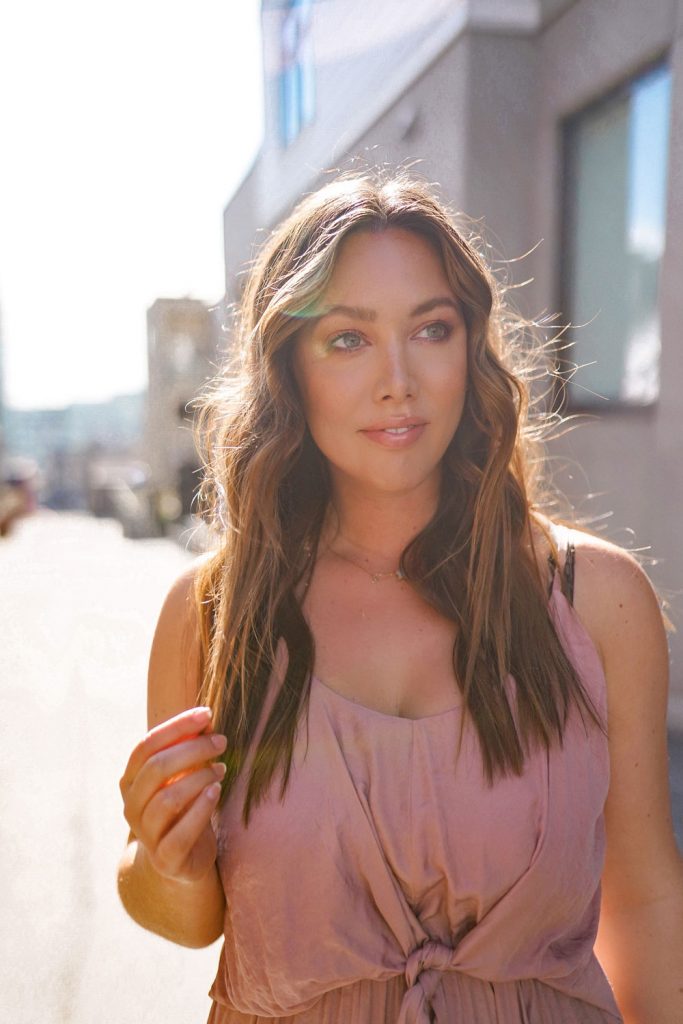
STEP 3: CONTOUR & COLOUR POP
Ana used MAC’s Studio Fix Sculpt & Shade Palette, using the shades “Shadester” and “Lightsweep” to add some definition to my face. She then highlighted on top of the cream base she applied before with Extra Dimension Skin Finish in Beaming Blush—apply right on top of cheekbones, on the bridge of my nose and the cupid’s bow. She added a pop of
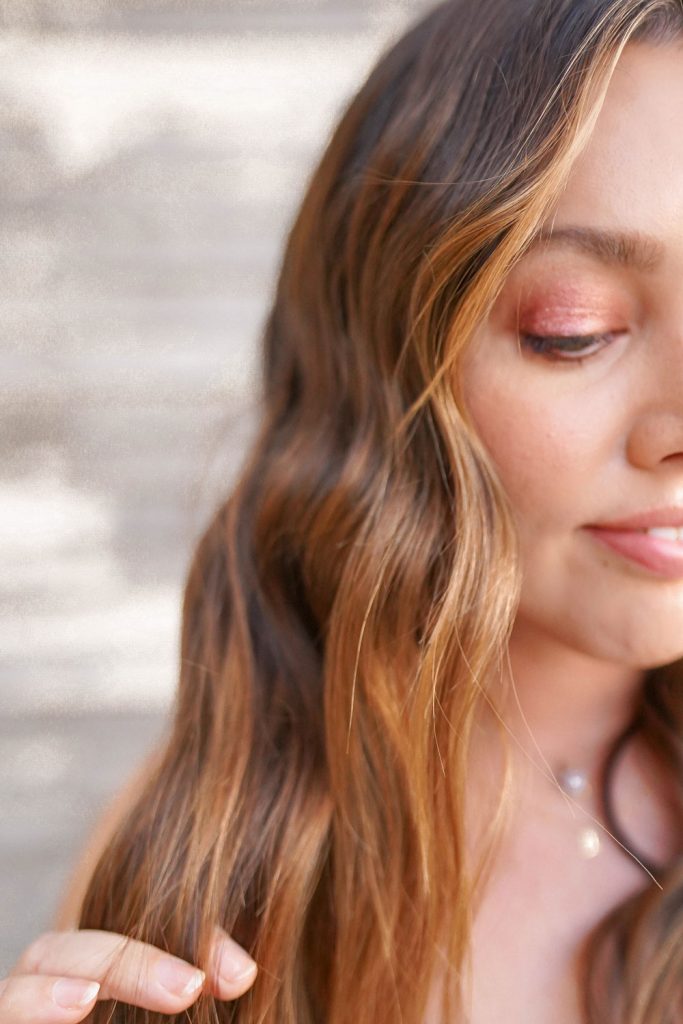
STEP 4: DEFINE THE EYES
She filled in my eyebrows with IT Cosmetic’s Brow Power Pencil in Universal Taupe (which is a universal shade as its name suggests, which I love!). Also, for every one of these pencils sold, another is donated to the Look Good Feel Better foundation for women with cancer—amazing. She then added Glossier’s Cloud Paint as a base tone for my eyelids. She then added a light wash of dusty pink shadow all over the eye and on the lower lash line, then a very light eye contour in the crease and outer corner with a warm chocolatey brown tone. To get that metallic effect, she pressed the “rose” pigment from MAC with a damp brush on the centre of my eyelids (the dampness makes the pigment more intense and creamy). She then smudged the tiniest bit of the chocolate shadow used to define my crease/outer corner into my lash line just to make my lashes look fuller than finished off with my personal
STEP 5: ROSE GOLD LIPS
After dabbing on Cloud Paint on my lips (creating a truly cohesive look, an easy beauty hack to make your look more natural/monochromatic!) she added a clear gloss with a hint of gold shimmer.
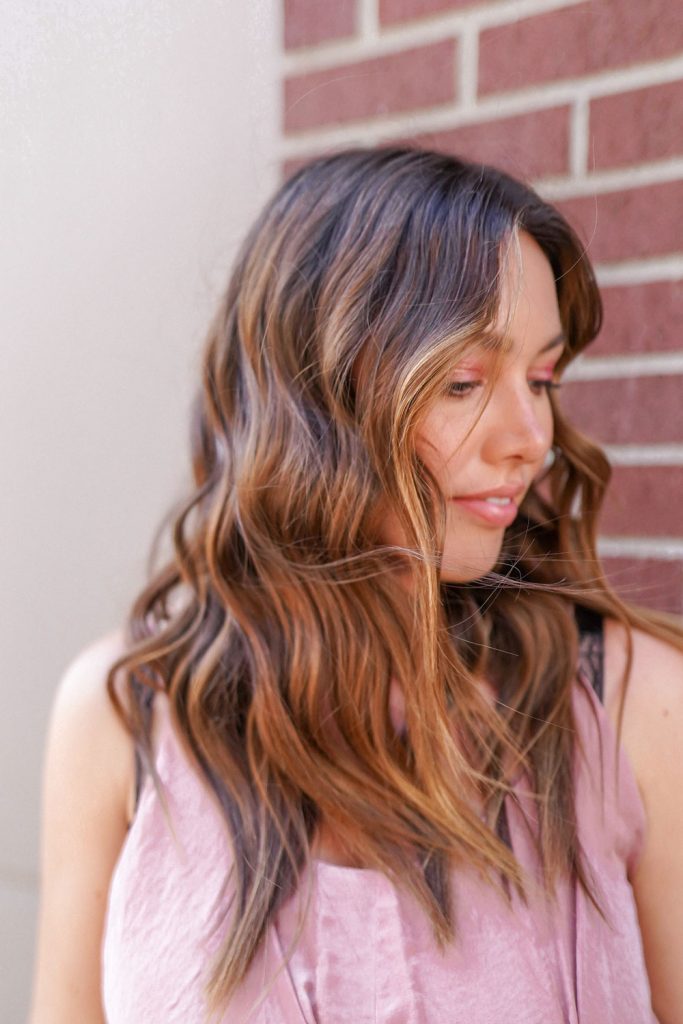
OPTION: FOR DAYTIME OR TO ACHIEVE A MORE NATURAL LOOK
If you wanted to take this down a notch and do something softer for daytime, you could just use do the first step (prep skin), even out your skin tone to a point that you feel comfortable then add Cloud Paint as a blush, lip and eye
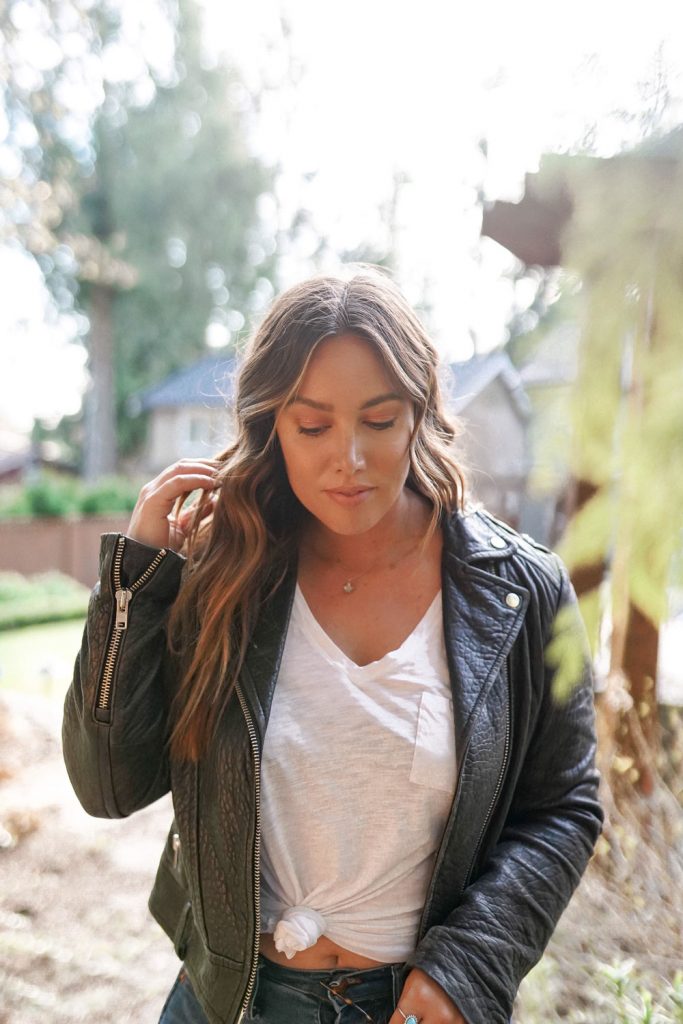
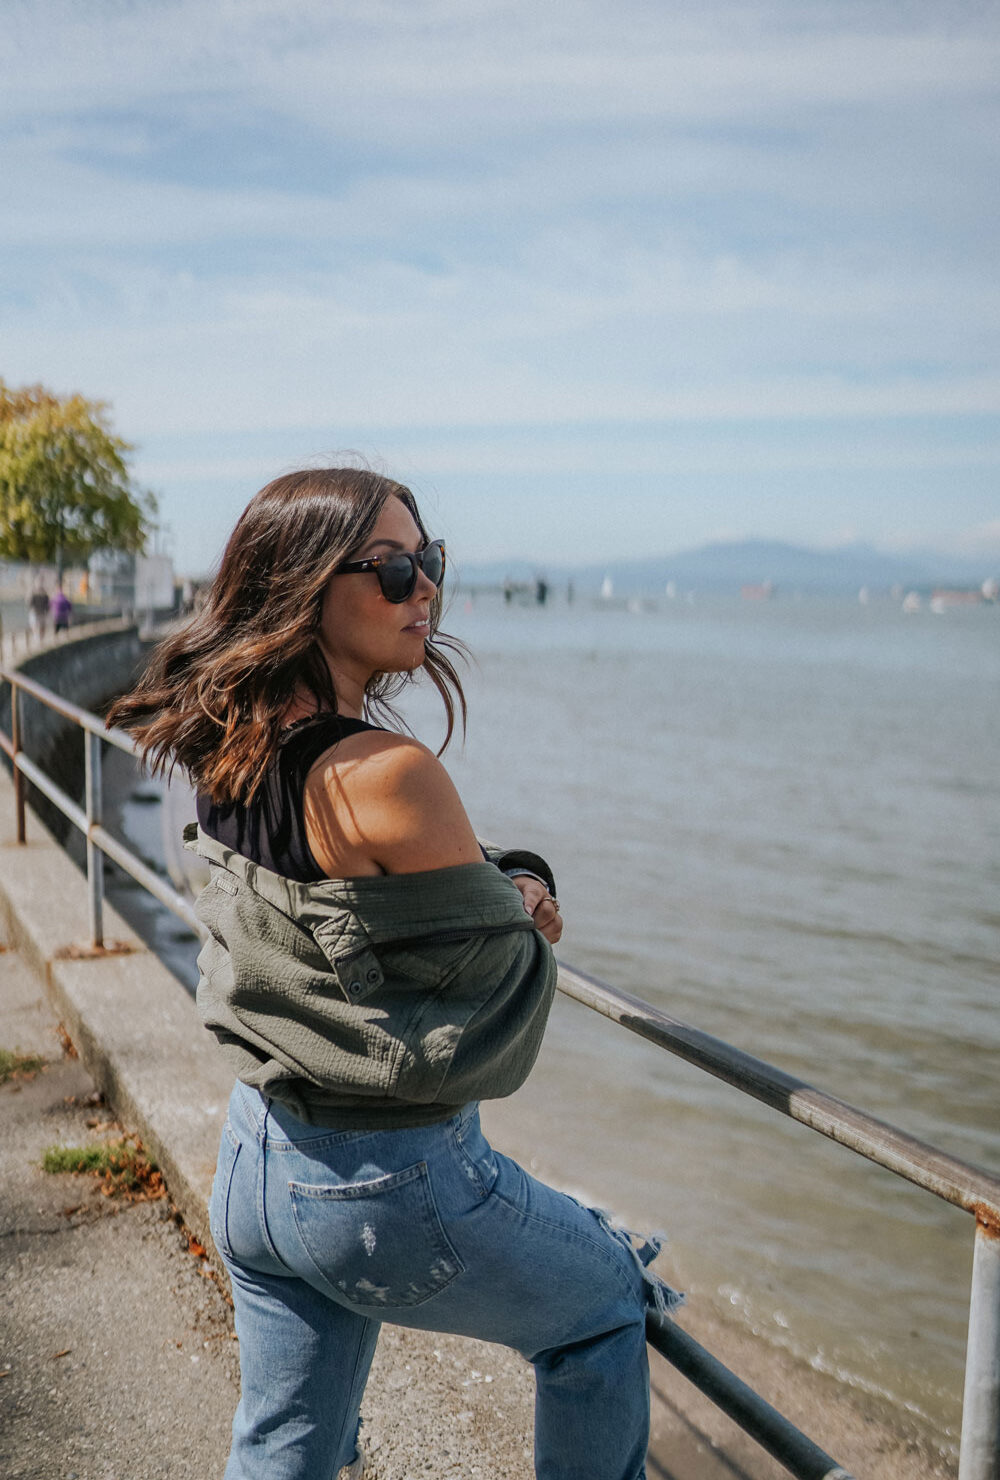
As you can see though, this look as is does transition just as easily for a more elevated daytime look (worn here with my leather jacket and jeans) as it does for something more dressed up! I love the whole concept behind this though and it’s made me a lot more confident as far as playing around with
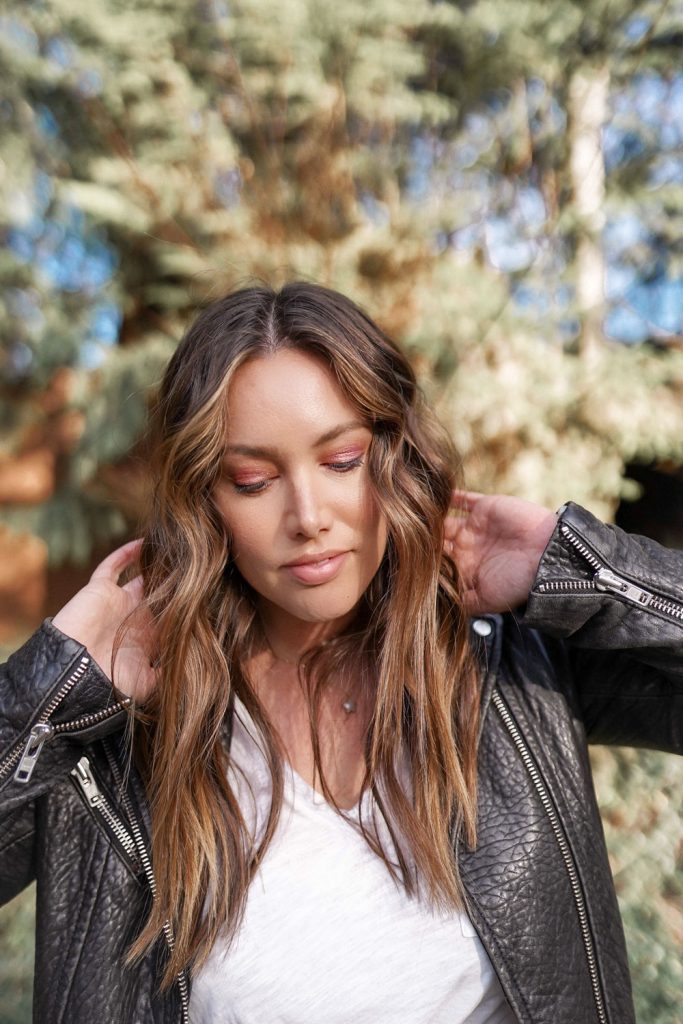
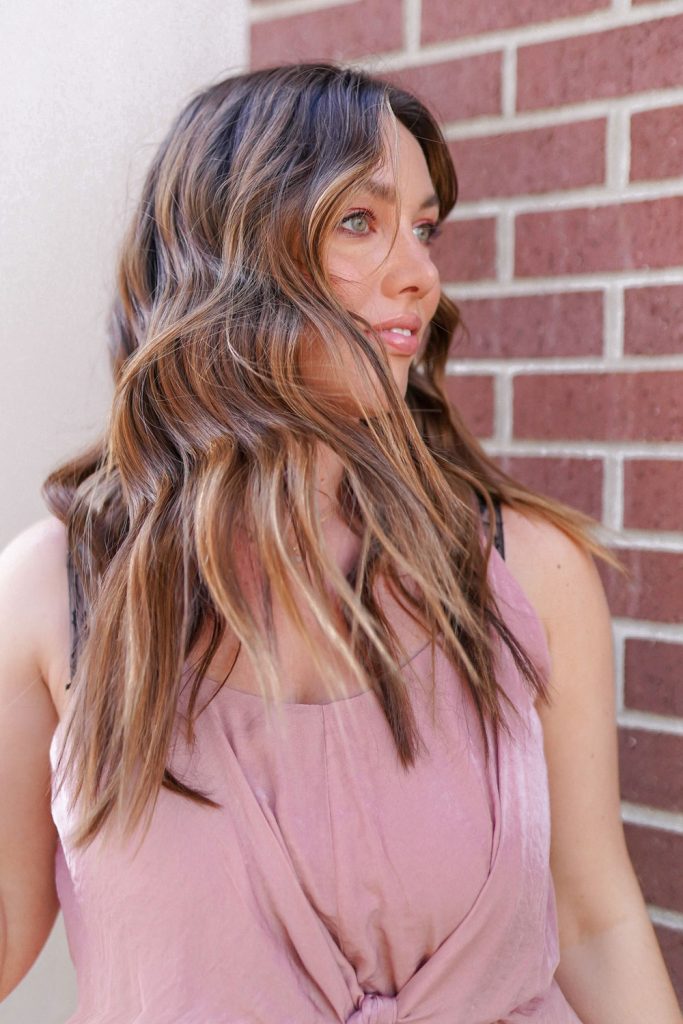
Quickly to cover the hair, Ana curled my hair away from my face with the cascading waves tapered wand by T3, leaving my ends out to keep them straight and then going over the curls (once they’ve cooled) with a straightener to create more modern waves. She then used the Oribe Gold Lust Dry Shampoo at my roots, with the Apres Beach Wave and Shine Spray throughout to finish. Finally, to break up the curls she used the Fiber Groom Elastic Texture Paste (which I have and love) to give that piece-y texture, add some hold and separation! If you missed last week’s hair tutorial, I chat more about the colour & cut Chris Weber did for me but he is of course the mastermind behind my hair!
A huge thank you to Ana and Vanilla Loft for creating this gorge look—I hope you guys loved it!
SHOP THE POST
Photos by Chris Weber (+ my mum for the last two!)
Warning: Undefined array key 0 in /dom983507/wp-content/themes/hayes/inc/empress-functions.php on line 741


















I love the idea of rose gold makeup! Your hair also looks amazing in these photos 🙂
xo, Elisabeth
https://athomewithelisabeth.com
Aw thanks so much Elisabeth so sweet! x
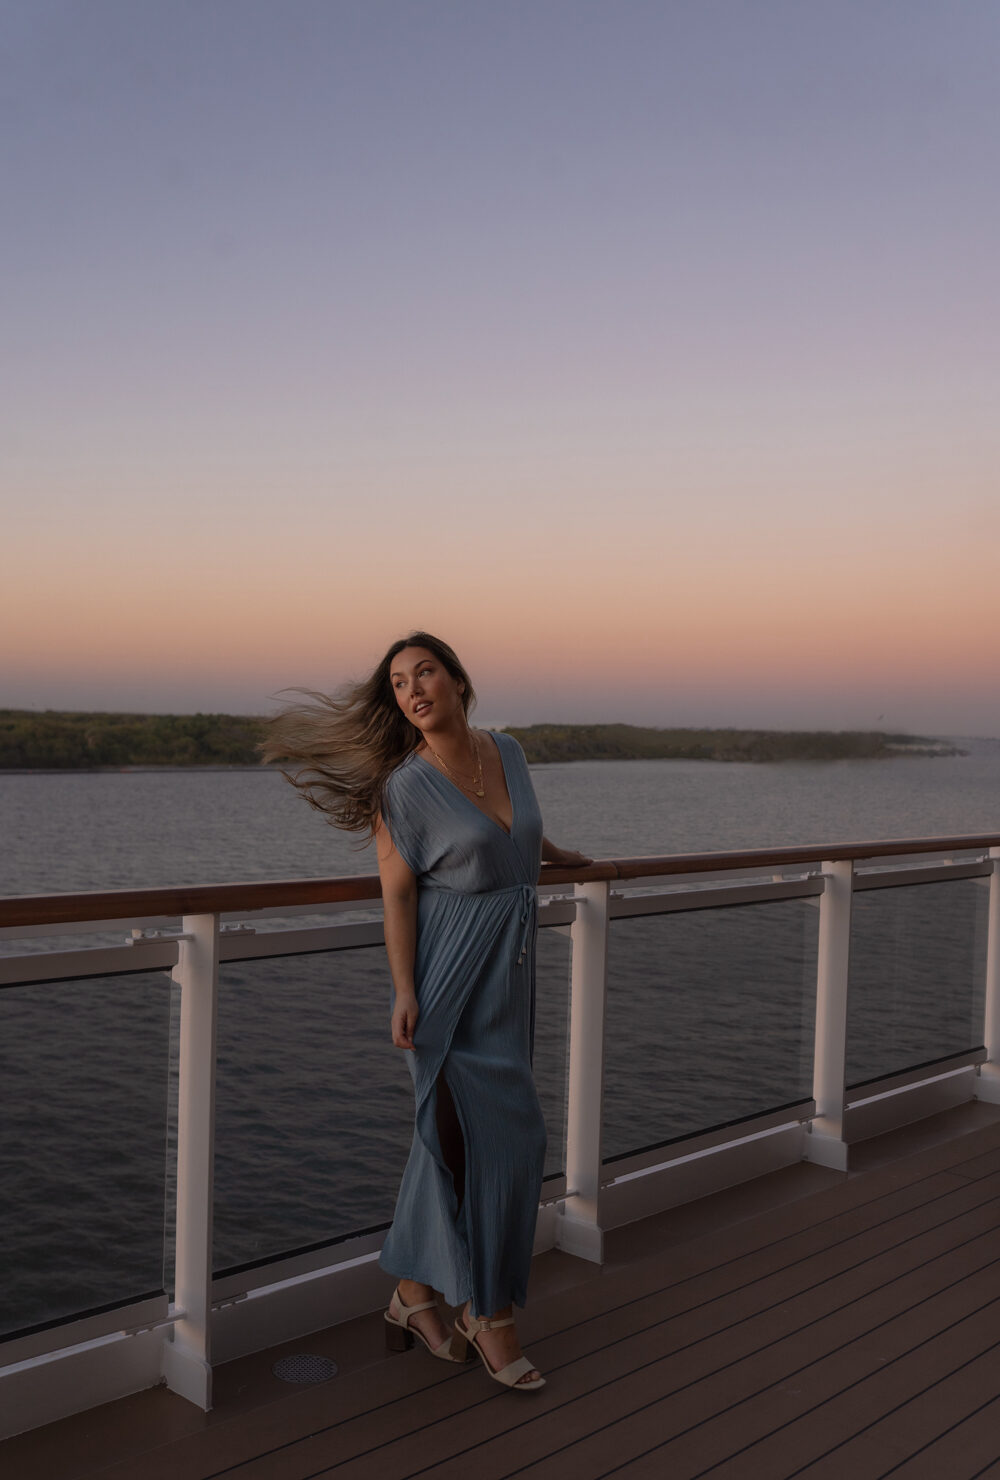
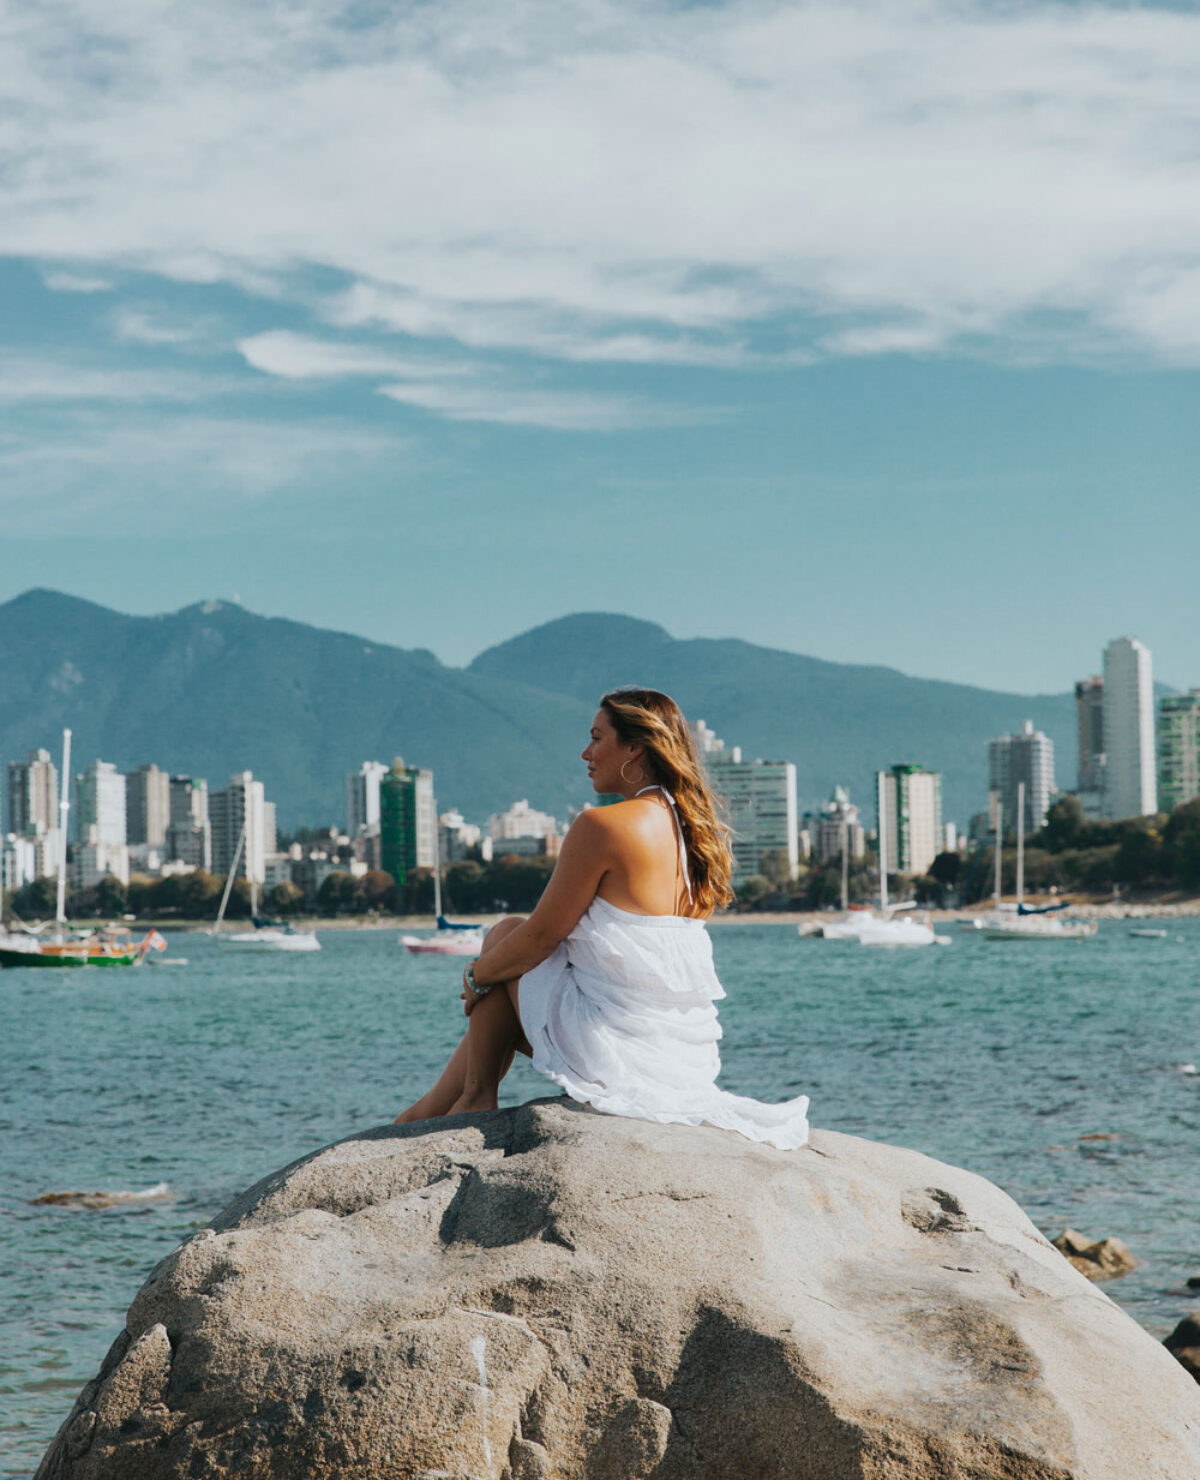
This is gorgeous and I love the dress! Where is it from?
I’ll have to actually find that out for you haha! Just a random find – will let you know ASAP x
Gorgeous look! Love it 🙂
Brianna | http://briannamarielifestyle.com/
Thanks Briana! So sweet 🙂