
 All of my biggest beauty and style icons are from the ‘60s or ‘70s, and with good reason—these decades fused edginess, sexiness, femininity and most important to me, while there are some questionable periods or trends in each decade (the disco era, heavy white liner, etc), I’ve found for both beauty and style, there’s really a focus on playing up what you’ve got. Whether it’s creating that iconic angular cat eye to play up your bone structure, tousled bed hair like the yé-yé girls or those ‘70s high waisted styles that really showed off waistlines, I’m honestly obsessed with everything to do with this time period.
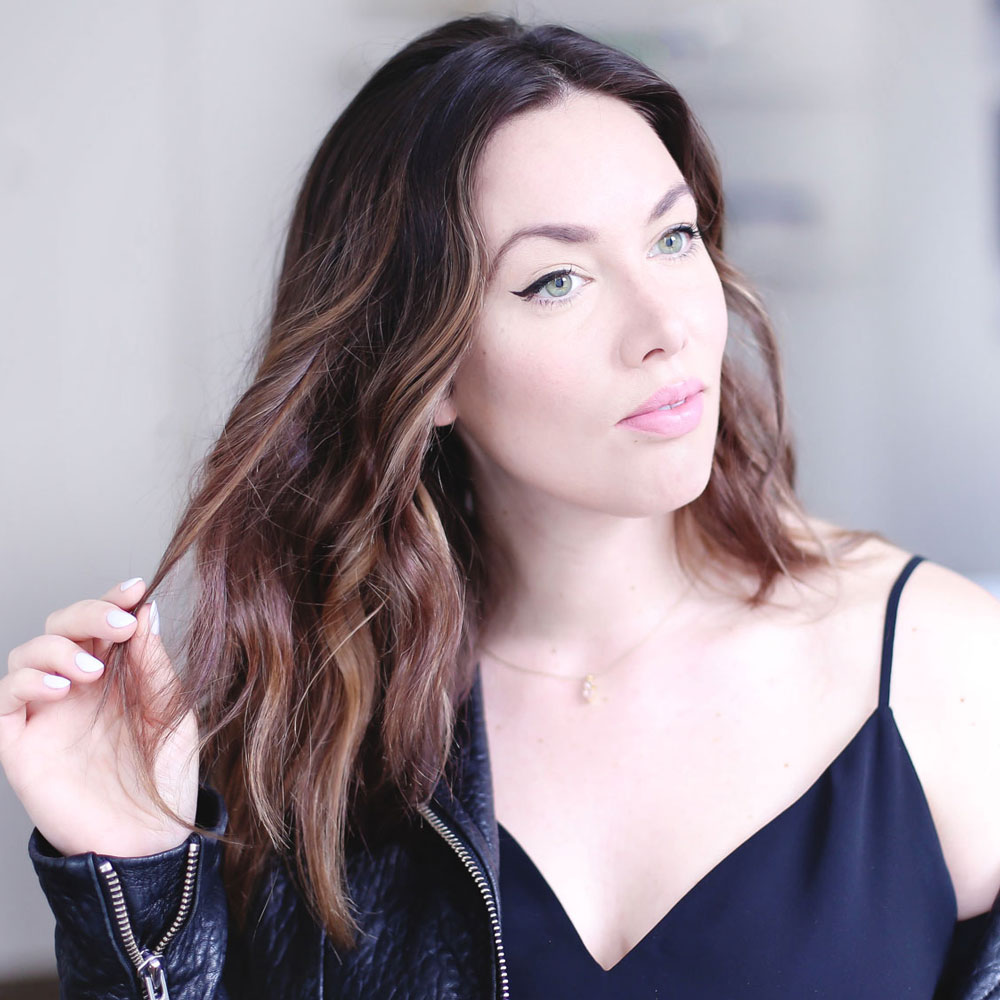
I’ve always loved Brigitte Bardot’s iconic look, and others who really did that mussy, sensual but strong look (think Jane Birkin, Françoise Hardy, etc). Brigitte’s is really the most exaggerated iteration of this look and while I’m more Françoise in the day, I love the idea of doing a modern take on that iconic Bardot hair and beauty look for night or for a special occasion.
The video above breaks it down quickly but to recap:
BEAUTY
- Twist your air-dried hair up into a messy ballerina bun (this will add some natural wave to your hair during the beauty process).
- Prep skin with a primer (loving this Touche Éclat Blur Primer by YSL, the one I’m using here—such a satiny finish!) and then apply foundation sparingly to skin (using Charlotte Tilbury’s Light Wonder in Beige as I usually do!)—I like to dot product in three areas: from chin to jawline, under my eyes and then a touch on the forehead. I like using brushes sometimes but I’m really partial to working product in with your fingers like the famed Pat McGrath—I feel like it creates more of a lived-in, natural look and less of that “mask effect.”
- Conceal where needed (feeling this Lancôme Teint Idole Ultra Wear because you can use a teeny tiny amount and get max coverage where needed!), again erring on the less-is-more approach and patting in with your finger directly on any blemishes/imperfections.
- I reduce shine in my T-zone either with a dusting of translucent mineral powder (partial to Glo Mineral) or a balm-like texture like this YSL Touche Éclat Blur Perfector, which turns from a balm (easy to apply!) to a satiny powder on the skin.
- Fill in your brows lightly (I’m using Benefit’s Goof Proof Brow Pencil here, which is honestly one of my fave pencils ever—such a natural finish and as its name implies, so easy to use!).
- Next up, the most critical part: your cat eye! If you need tips, I have a full post dedicated to perfecting this retro staple but really, the key here is to just scale the intensity of the eye depending on the event or occasion! I’ve been a longtime devotee to L’Oréal’s easy-to-use felt tip liners though.
- Coat your top lashes with two coats of mascara (using YSL’s Volume Effet Faux Cils here, a recent new fave) and while I usually end my mascara application here, for this look add a little bit of mod and do your outer bottom lashes as well (use the tip of your applicator).
- Make sure your lips are hydrated (love my Bite Beauty Agave lip balm!) and apply a barely-there rose tint—I’ve actually blended the Bite lip pencil in Pale Pink and NYX’s Soft Matte Lip Cream in Sydney (one of my fave drugstore finds!). Pro tip here is to really work in the product with your ring fingers, patting product in a ton (you can always clean up with a Q-tip after if you blend outside your lip line) as this will create that pillowy, lived-in lip.
- Make sure you blend in a decent amount of product here because you’re going to simply pick up some of the blended colour on your lips and blend it directly into the apples of your cheeks—this creates a really dewy, lovely hue and makes the whole look really cohesive! Pro tip I use this beauty hack a lot post-gym, when I’m travelling or even if I got caught in some rain and want to refresh my face!
HAIR
- Heat up a clipless curling wand (I’m using an inch barrel here for more of a loose look but if you’re going to be out for hours or want tighter curls, just opt for a narrower width!).
- Using a fine-toothed comb, section out hair around your crown and backcomb at the roots, smoothing your hair back—I have a longer oval face so try not to create too too much height but depending on your face shape, you can build this up even more! Since this is a more modern, everyday take though, I’d probably recommend you just add a touch of volume rather than going all-out.
- With your wand heated up, begin curling away from the face starting at the top of the curl level with your eyes and keeping ends out. You really are going for bedhead rather than curls so depending on your hair type, only keep the wand in for 4-10 seconds before smoothly releasing! Make sure when towards the back of your head that you blend in the teased part with a section just behind your ears to really blend it all in.
- Let hair cool for a few minutes and then add in a texturizing spray—I’ve been obsessed with this Sachajuan Ocean Mist for so long, it honestly just works so well with my fine hair type! Oribe Texture Spray is another fave though. Pro tip using a texture or sea salt mist will give your hair a more modern, roughened-up bedhead feel rather than using hairspray! Dry shampoo will also help add some grittiness to and depending on where you are in your wash cycle (second day hair, third day, etc) you can apply some beforehand to give lift at your roots and soak up oil.
- Rough up your hair a bit, breaking up the curls—depending on how well your hair holds its shape, you can even do a quick upside-down hair toss to really get that volume going (my hair is too fine and naturally straight to muss around a lot with it though once it’s set!).
And you’re all set to rock the town à la Bardot! Have any other beauty icons? Tell me in the comments below and I’ll definitely attempt a beauty tutorial! Almost all the products are linked in the widget below as well if you want to shop any of my rec’s! Finally, if you haven’t yet, please subscribe to my YouTube page so that you can get see these vids right away as they come live—can’t wait to shoot more for you!
Photos by Ainsley Rose
