
 Finally back with a beauty video tutorial at long last! My general rule with hair or beauty is that if it takes longer than 15 minutes, I’m out—all about easy, effective and ultimately, really beautiful beauty! But while during the summertime I’m lucky if I manage to get lip gloss on, come fall and wintertime I definitely start building up the colour, contour and texture—long story short, I crave a bit more time at the vanity table pulling together a look and trying out new things with my beauty/hair that I wouldn’t try in the summer!
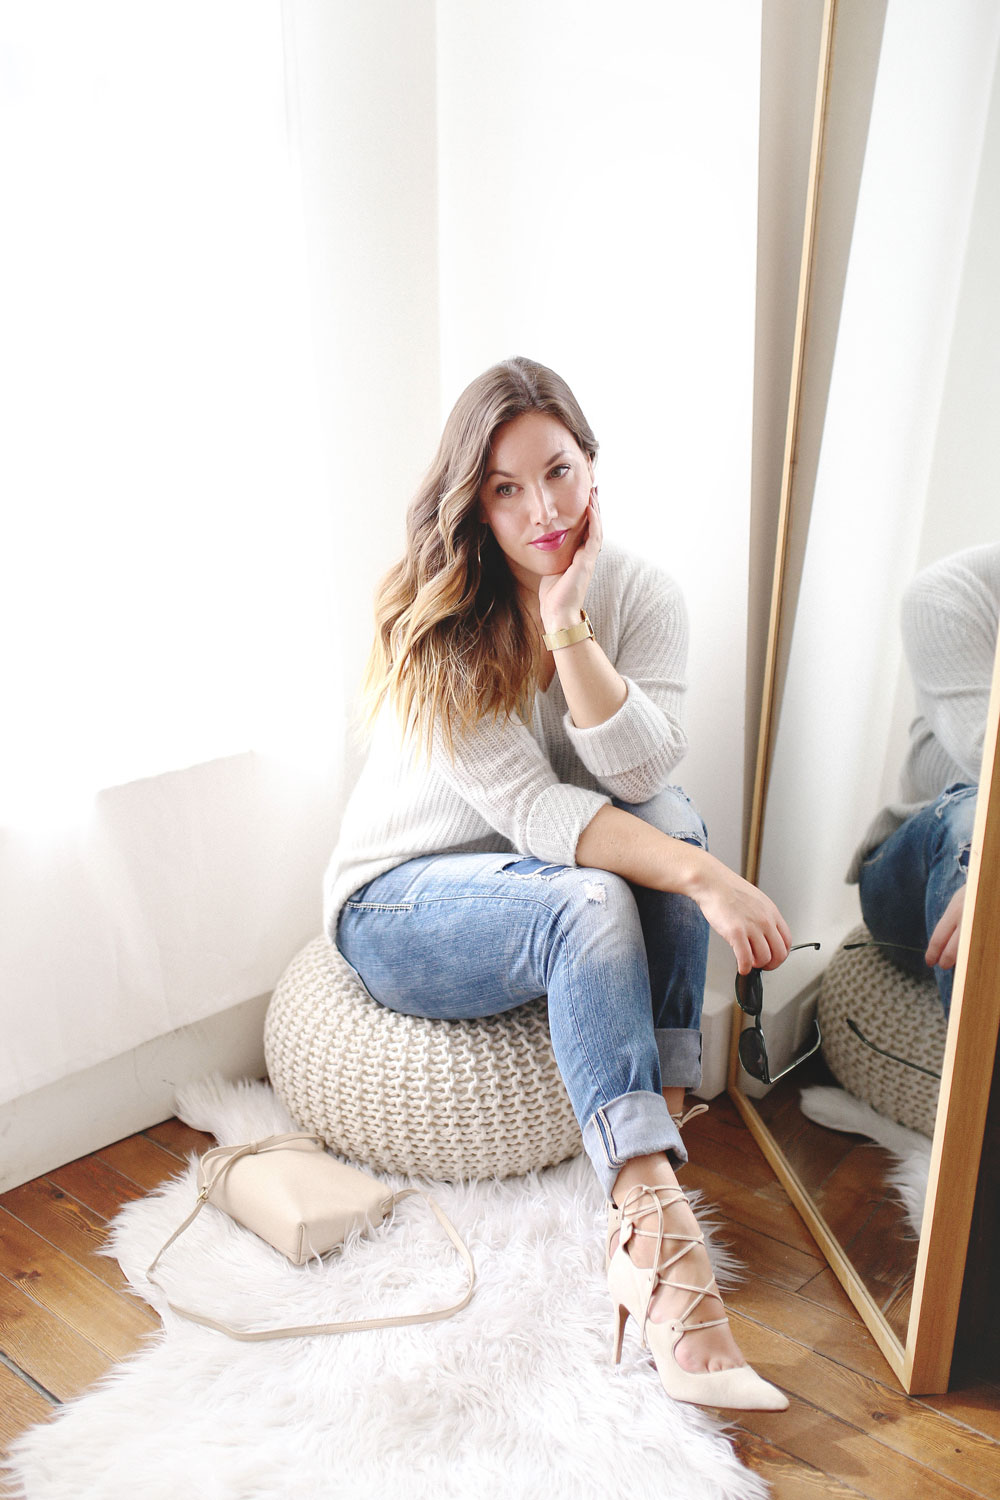
 Come fall time especially, for me it’s all about softness and warmth. Think of what you’re wearing and craving day-to-day—cashmere, knits, soft cotton T’s, wool, etc. I like to make my beauty and hair echo that whole cozy feel, with a more lived-in kinda look but with a bit more sophistication and refinement than my more carefree summer style.
Give this short video above a watch to see how I do this whole look but if you’re at work or short on time, I have the whole instructions to recreating this look laid out below!
 1. Prep skin with an illuminating primer to really build that glow! I love going for a pearlescent finish—I’m using YSL’s primer here but also love Charlotte Tilbury’s Wonderglow, which I often wear just on its own!
2. Use either a cream foundation or concealer around your T-zone and on any blemishes to just build some natural coverage—you can use your fingers, but with a glowy primer I like to use a foundation brush to really blend it in together! I’ve been using Charlotte Tilbury’s for awhile and the foundation I’m using Dermablend’s Cover Creme which has been my go-to for the past few months!
3. Keeping those glowing vibes going, I’m all about bringing some light to your face (especially with a fading tan, sigh) by illuminating the points of your face where the sun would naturally hit—think top of your cheekbones, on your brow bones and above your brows, the inner corners of your eye, the bridge of your nose and your cupid’s bow. I’ve been loving NYX’s Bright Idea Stick, which is also a really affordable drugstore option!
4. So for the eyes, I’ve got green eyes so tend to go for shades with purple undertones but depending on your eyes, pick a neutral that works well for you—warmer brown/copper tones for blue eyes, greys or pink undertones for brown eyes, etc. Pick the mid tone (or one resembling taupey-est, if that makes any sense) and using your ring finger or a brush, place the colour and blend well across your lid.
 5. Use a pearly, shimmery tone and working from the middle of your eye out, blend in some sheen to add some depth to the eye. I’m using Clinique’s All-About Palette here (which happily has great options for different eye colours, in 8 different shades!).
6. Grab the deepest shade and using an angled brush, work the shade into your top lash line, winging out very slightly into a cat eye. Use a fluffy brush to blend in well! You can grab your foundation brush to wipe away any product that fell underneath your eyes and to help shape the cat eye too!
7. Curl your lashes then add a couple coatings of mascara (using Lancôme’s Monsieur Big here, though I said Estée Lauder in the video #awkward!). Really focus the product at your roots then blink through.
8. I do a little definition for my brows with Benefit’s Precisely, My Brow pencil which I love for a more natural look because its ultra-fine pencil lets you literally mimic hairs and blend in with the spool brush—it’s one of my faves for a day time look!
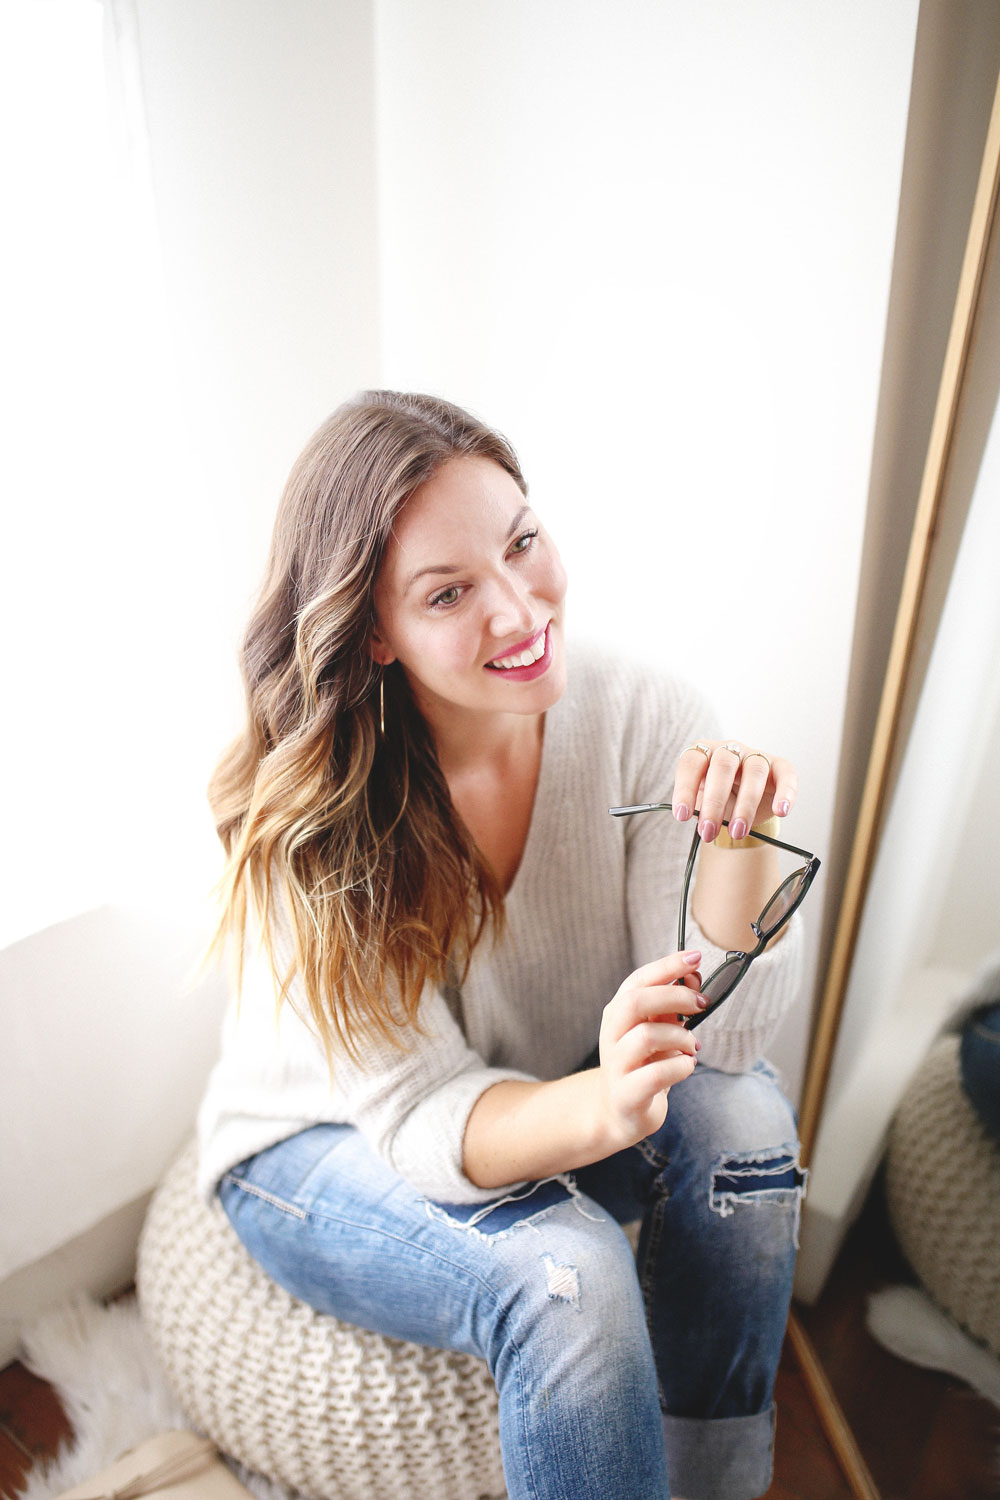
9. Now the lips! Make sure your lips are flake-free (Bite’s Agave Lip Scrub is my fave for sloughing away flakes) and make sure they’re hydrated. The trick to creating a bitten lip look is to start with this nice base and then start building up the colour from the centre out—I love a more pigmented tone like this shade here (Bite’s Amuse Bouche in Radish is such a pretty berry tone!) then use your lip to pat and blend in colour. Don’t worry if this part gets messy—just keep building the colour then use a Q-tip to clean up any product!
10. I like to pack a more sheer product for quick touch ups during the day (but will usually reapply after lunch with my lipstick)—a quick slick of YSL’s Volupté Tint-in-Balm keeps the colour sealed in and adds some nice depth too! This also happens to be one of my fave daytime products—something I’ll wear to the gym or when I’m running around town on my bike!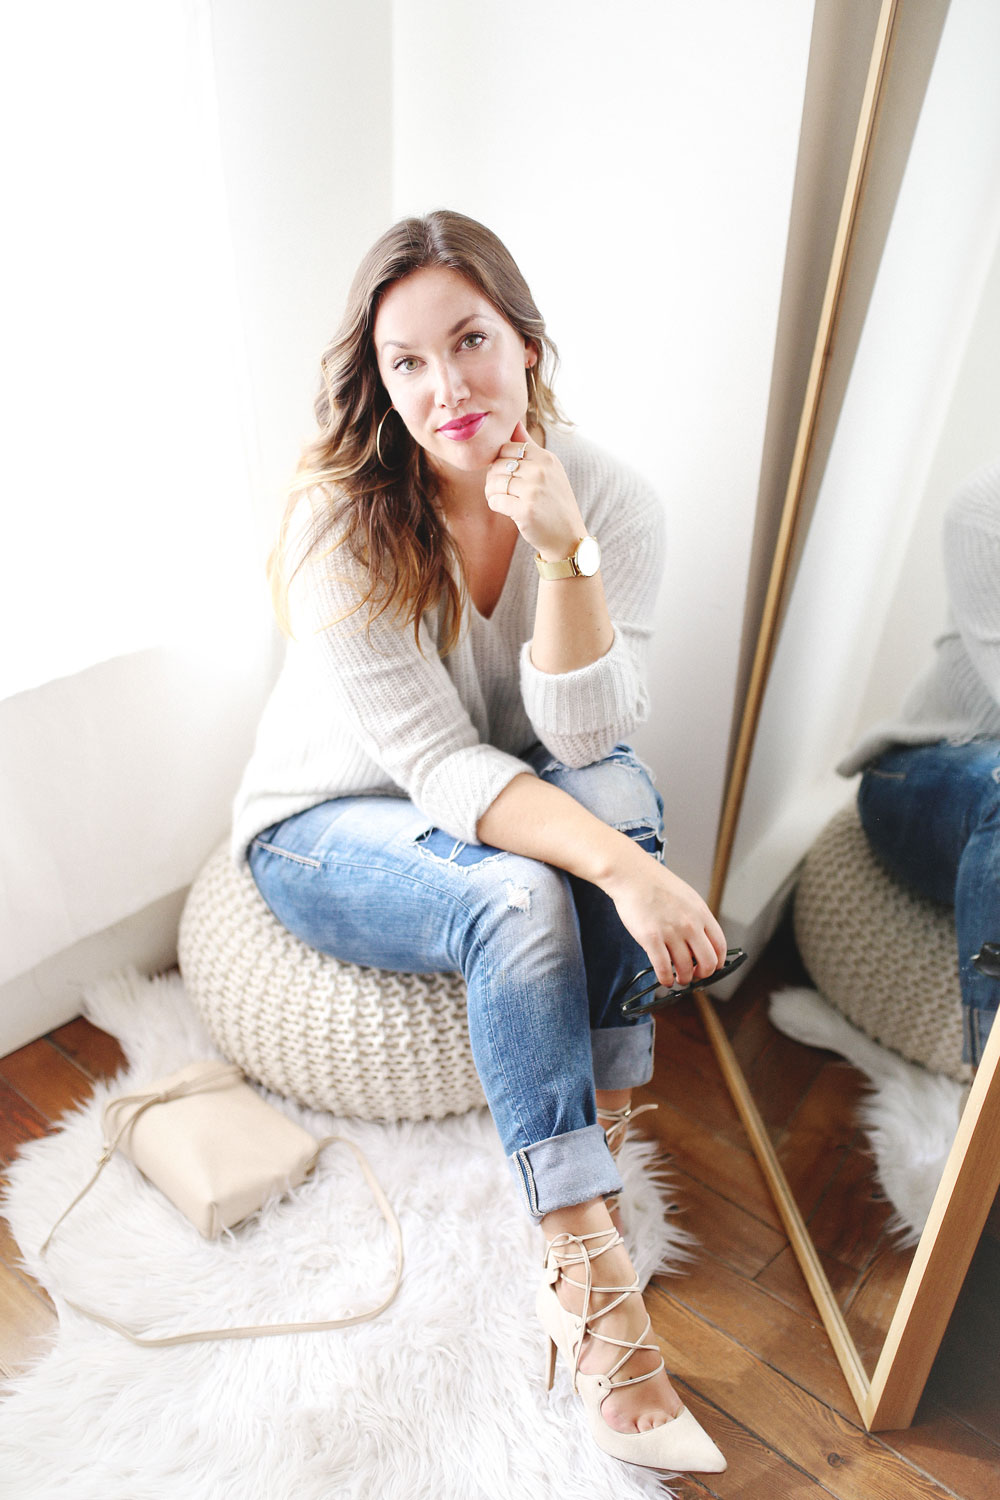 And that’s it! Literally 5-7 minutes max from start to finish and while it’s super easy, still really pulled together! Above all else, it’s what I always aim for—femme, sensual, pretty and natural. I hope you guys loved it and of course, if you have any beauty or hair requests, just let me know in the comments below!

Lovely lipstick colour!
https://dinamighty.com/
@dinamighty_d
Love your heels <3
http://www.evdaily.blogspot.com
Thank you for the makeup tutorial! It’s very helpful for a newbie like me. That eyeshadow palette looks so nice.
Love your heels, so pretty.
https://igviewer.org/